
First-session guide
How to Play Paint a Game
The official Paint a Game! description gives a clear sequence: claim a plot, search for a Roblox game, load its icon onto the canvas, recreate it block by block, and return to your saved progress. This guide turns that sequence into a useful first session without inventing controls or systems the game has not published. Every step below separates the confirmed loop from practical choices that a player can make while reading the canvas.
1. Start with a plot
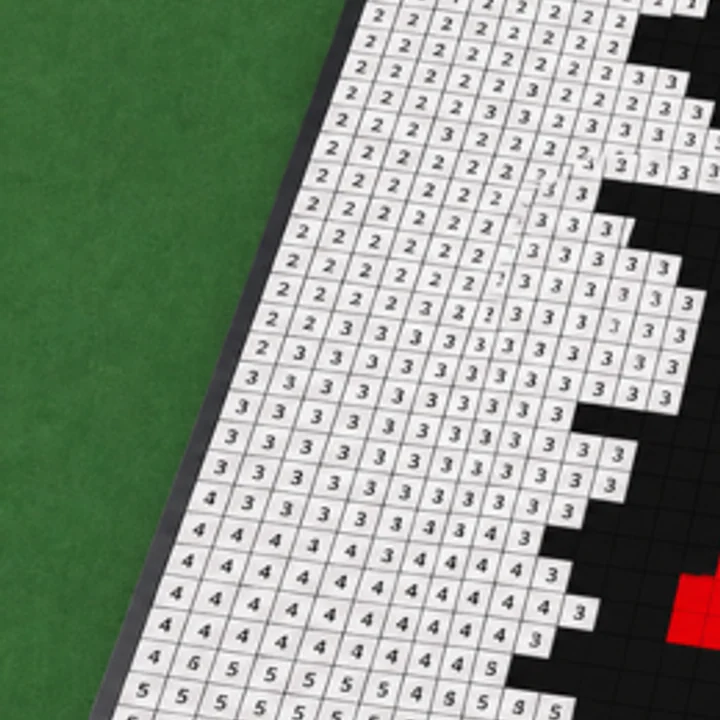
The first official action is to claim a plot. Think of the plot as the place where a single icon becomes your working canvas. It is a better starting point than searching through ideas first, because the rest of the loop happens on that canvas: the icon is loaded there and the visible blocks are filled there. Once you have a plot, the session has a physical focus instead of becoming an open-ended browse through Roblox names.
For a first project, choose a target you can recognize at a glance. The point is not to prove that every icon is equally easy. A readable target gives you a way to judge progress as the blank and colored regions change. If you are playing around other people, a recognizable shape also helps everyone see what the shared canvas is becoming before the last blocks are complete. It also gives you a simple test after every region: does the subject read more clearly than it did a moment ago?
2. Search for the Roblox game you want to paint
Paint a Game! says you can search for a favorite Roblox game and load its game icon. The useful decision is the icon, not a wiki category or a made-up rarity label. Choose a game you know well enough to recognize its main colors or silhouette. That makes the block-by-block result easier to understand when only part of the image has been filled in.
The official description does not publish a fixed list of supported icons, a search ranking rule, or a promise that every Roblox experience appears. This guide therefore treats the search as an in-game choice rather than promising a particular result. If a particular name matters, use the search in Paint a Game! itself and let the available icon be the source of truth for that session. That keeps the choice tied to the live game rather than to a stale list copied into a guide. It also keeps the canvas choice connected to what other players can actually see in the session.
3. Load the icon and read the canvas
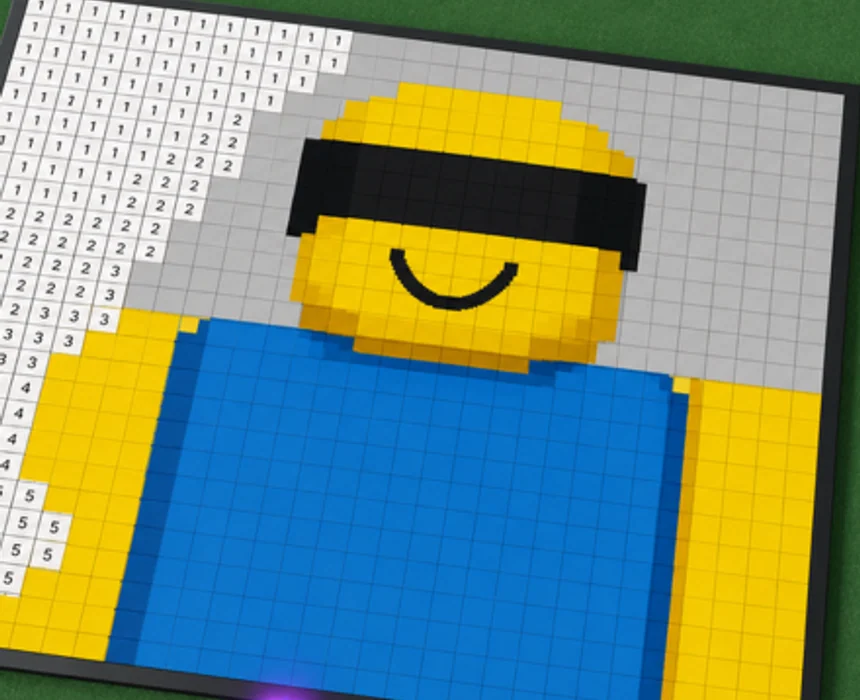
After you choose a game, the official loop says to load its icon onto your canvas. This is the moment where the picture becomes a grid of small work areas. The screenshots published for the experience show a numbered, block-based painting surface beside already-colored regions. The grid gives the project an order: a filled block changes a specific part of the picture instead of adding loose paint to a blank page.
Read the image as large areas first. A bold outline, a large shirt, a face, or a background field makes a better opening target than tiny details because it gives the image its structure. That is a practical way to organize your own attention, not a hidden game rule. The game’s official description confirms the block-by-block recreation; it does not prescribe an order for each block. When a big field is clear, smaller blocks have an obvious place instead of competing for your attention.
4. Paint block by block
The central task is to recreate the loaded icon block by block. Let the canvas do the organizing. Work through one visual area at a time, then pause long enough to see whether the icon is becoming clearer. Large fields show progress quickly; edges and smaller shapes become easier to place after the surrounding colors give them context. The right pace is the one that keeps the image legible rather than one that creates a separate pile of disconnected colored blocks.
Because the game is a coloring experience, the finished result is the payoff. There is no reason to claim a damage value, a fastest route, or an optimal build here: those are not part of the verified public description. The reliable goal is much simpler. Keep turning the numbered canvas into the icon you chose, with each completed region helping the whole picture read more clearly. Look for a stable boundary between colors before jumping to a far-away detail.
5. Paint alongside other players
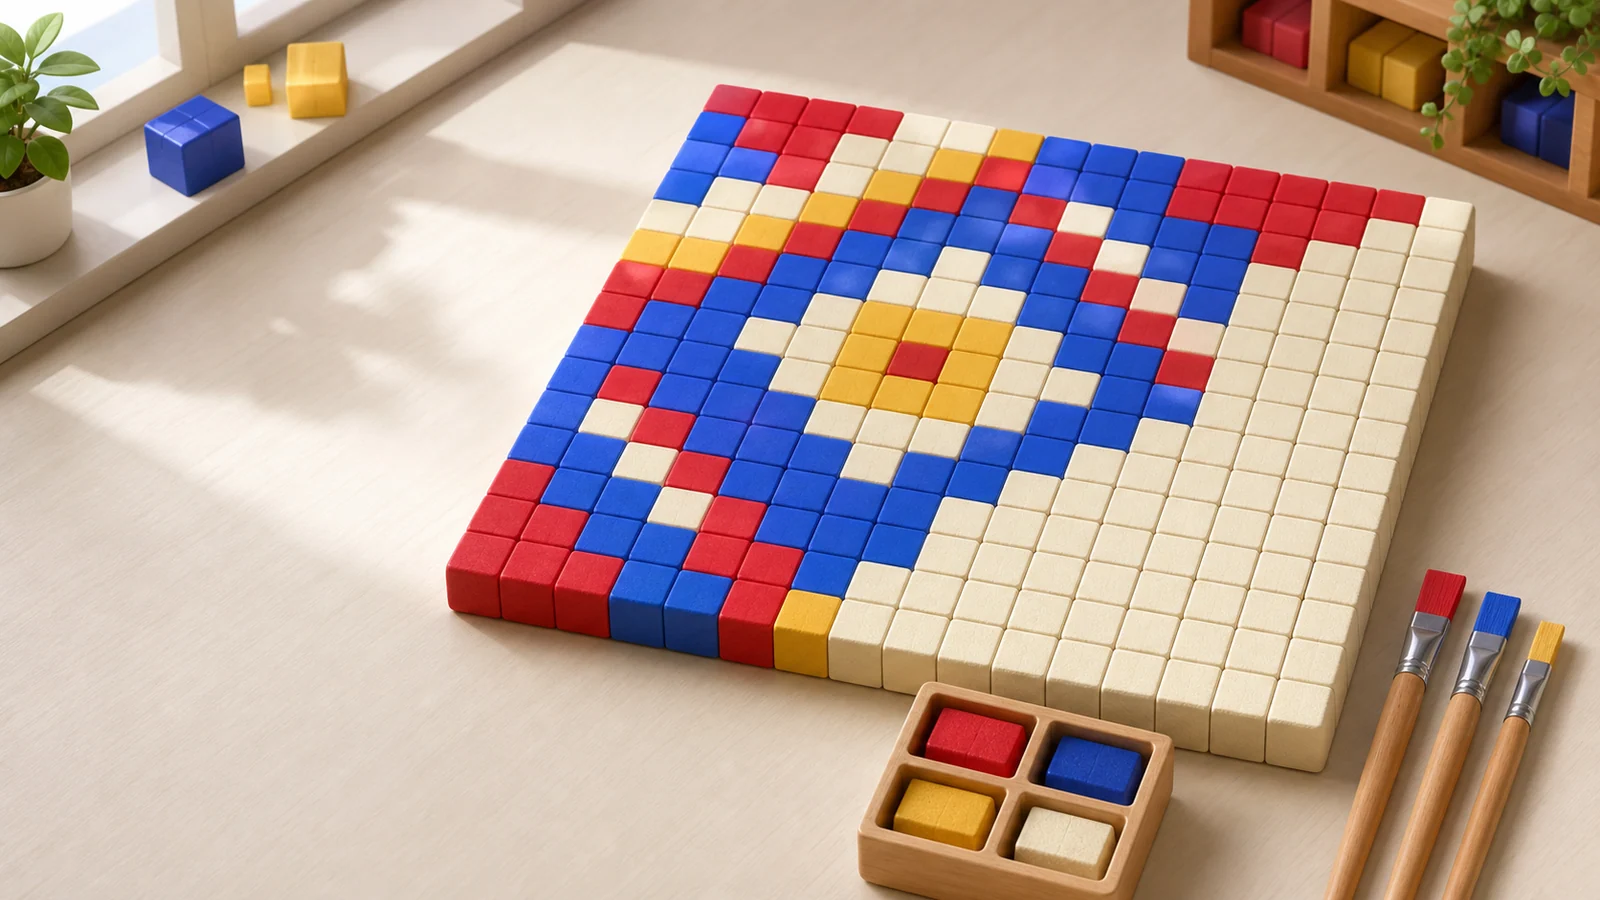
The official page describes Paint a Game! as a chill 4-player coloring game and says players can paint alongside one another in real time. Treat that as an invitation to make the canvas understandable for the people sharing it with you. A clear region gives other painters a visual anchor, while a complicated detail can wait until the broad shapes establish the image.
The public Roblox metadata currently lists a maximum player count separately from the description, so this page does not turn either field into a detailed team-role guide. There is no verified public source for assigned positions, color ownership, or a competitive score. The useful common ground is the canvas: choose an area, make its shape readable, and let the shared picture provide the coordination. A new participant can then understand the target from the picture itself instead of needing a separate plan. That approach leaves the live session free to set its own pace while keeping the shared picture easy to read.
6. Return to saved progress
Paint a Game! says your progress saves automatically, so an unfinished icon is not a failed session. Stop after a recognizable area if you need to leave. When you return, use that finished region as your orientation point and continue with the next neighboring field or outline. This keeps the project readable without assuming a special save menu, checkpoint count, or storage limit that the official page has not described.
Automatic saving also supports a calmer rhythm. You can work on one icon over several visits rather than trying to force every detail into one session. If you only remember one part of the guide, remember the order: claim a plot, search for a Roblox game, load the icon, paint its blocks, and come back to your saved progress when you are ready. That sequence is the useful boundary of this guide because every part comes directly from the experience description.